Eclipse下安装MyBatis Generator并自动生成Dao、Model、Mapping相关文件。
当前所用的Eclipse版本为4.6,首先在Help菜单下打开Eclipse Marketplace。
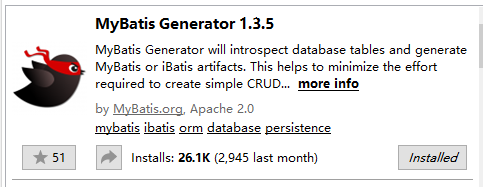
并搜索关键字MyBatis Generator,出来的第一个结果就是,如下图,因我已经安装过了所以显示Installed
 点击右下角的Install进行安装过程,可能需要一点时间。
安装完成之后会提示重启eclipse,重启即可。
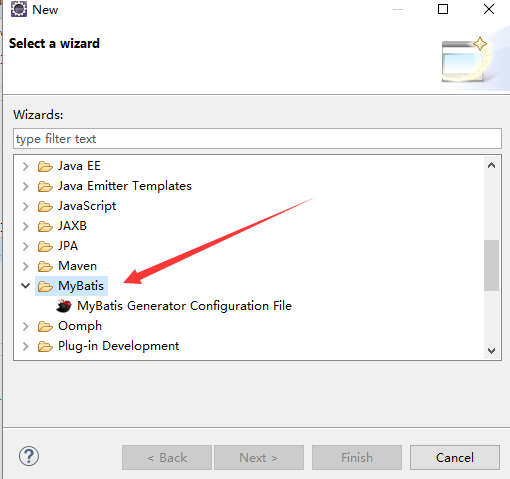
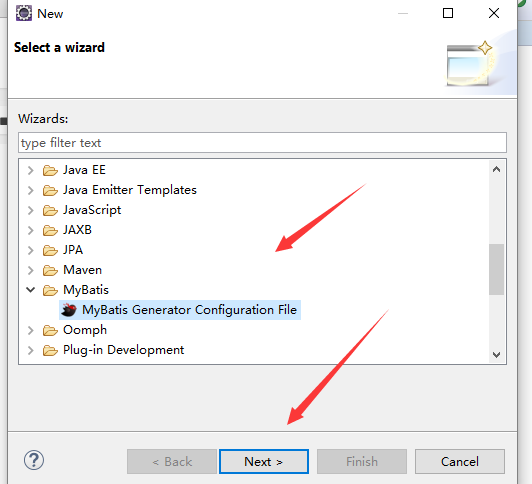
如果安装成功则在New对话框中显示如下,
 这样就成功的安装了该插件。
以下的步骤才可以进行。
在你的工程里创建generatorConfig.xml文件,
 创建成功之后如下
打开该文件之后开始配置
创建成功之后如下
打开该文件之后开始配置
<?xml version="1.0" encoding="UTF-8"?>
<!DOCTYPE generatorConfiguration PUBLIC "-//mybatis.org//DTD MyBatis Generator Configuration 1.0//EN" "http://mybatis.org/dtd/mybatis-generator-config_1_0.dtd">
<generatorConfiguration>
	<!-- 数据库驱动 -->
	<classPathEntry
		location="H:\MySql\mysql-connector-java-5.1.39\mysql-connector-java-5.1.39\mysql-connector-java-5.1.39-bin.jar" />
	<context id="context1" targetRuntime="MyBatis3">
		<commentGenerator>
			<property name="suppressDate" value="true" />
			<!-- 是否去除自动生成的注释 true:是 : false:否 -->
			<property name="suppressAllComments" value="true" />
		</commentGenerator>
		<!--数据库链接URL,用户名、密码 -->
		<jdbcConnection driverClass="com.mysql.jdbc.Driver"
			connectionURL="jdbc:mysql://localhost:3306/ssm" userId="root"
			password="root">
		</jdbcConnection>

		<javaTypeResolver>
			<property name="forceBigDecimals" value="false" />
		</javaTypeResolver>
		<!-- 生成模型的包名和位置 -->
		<javaModelGenerator targetPackage="com.ryw.mavendemo.model"
			targetProject="mavendemo/src/main/java">

			<property name="enableSubPackages" value="true" />
			<property name="trimStrings" value="true" />

		</javaModelGenerator>
		<!-- 生成映射文件的包名和位置 -->
		<sqlMapGenerator targetPackage="com.ryw.mavendemo.mapping"
			targetProject="mavendemo/src/main/java">
			<property name="enableSubPackages" value="true" />
		</sqlMapGenerator>
		<!-- 生成DAO的包名和位置 -->
		<javaClientGenerator type="XMLMAPPER"
			targetPackage="com.ryw.mavendemo.IDao" targetProject="mavendemo/src/main/java">
			<property name="enableSubPackages" value="true" />
		</javaClientGenerator>


		<!-- 要生成的表 tableName是数据库中的表名或视图名 domainObjectName是实体类名 -->
		<table tableName="user_t" domainObjectName="User"
			enableCountByExample="false" enableUpdateByExample="false"
			enableDeleteByExample="false" enableSelectByExample="false"
			selectByExampleQueryId="false"></table>
		<table tableName="student_t" domainObjectName="Student"
			enableCountByExample="false" enableUpdateByExample="false"
			enableDeleteByExample="false" enableSelectByExample="false"
			selectByExampleQueryId="false"></table>
	</context>
</generatorConfiguration>
特别要注意targetProject这个属性的值是 工程名/src/包名
配置好之后在该xml文件上右击 Run As
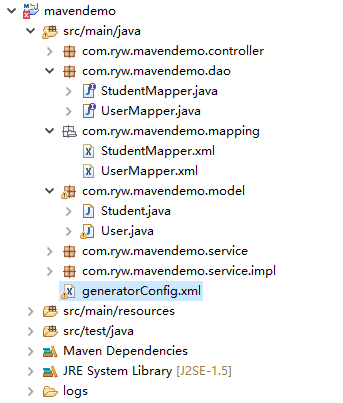
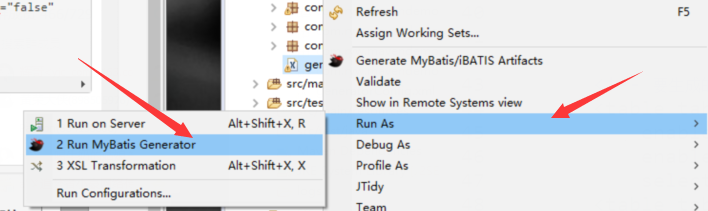 配置正确后即可在相应的包下看见生成的各个文件。
完整工程下载 整合了Spring 、Spring MVC 和MyBatis3 工程名 mavendemo
本文由 biezhi 创作,采用 知识共享署名4.0 国际许可协议进行许可
本站文章除注明转载/出处外,均为本站原创或翻译,转载前请务必署名
最后编辑时间为:
2017/07/31 16:04